How to Secure Nginx with SSL/TLS HTTPS Using Let’s Encrypt on Ubuntu
Author: Ferry Dermawan
Date:
Tags: ubuntu, devops
Enabling HTTPS on your website is crucial for security, SEO, and user trust. Thankfully, Let’s Encrypt offers free SSL/TLS certificates that are easy to set up on an Nginx server. In this tutorial, we’ll walk through how to secure your Nginx server using Let’s Encrypt on Ubuntu.
Step 1: Check Your Website Before SSL
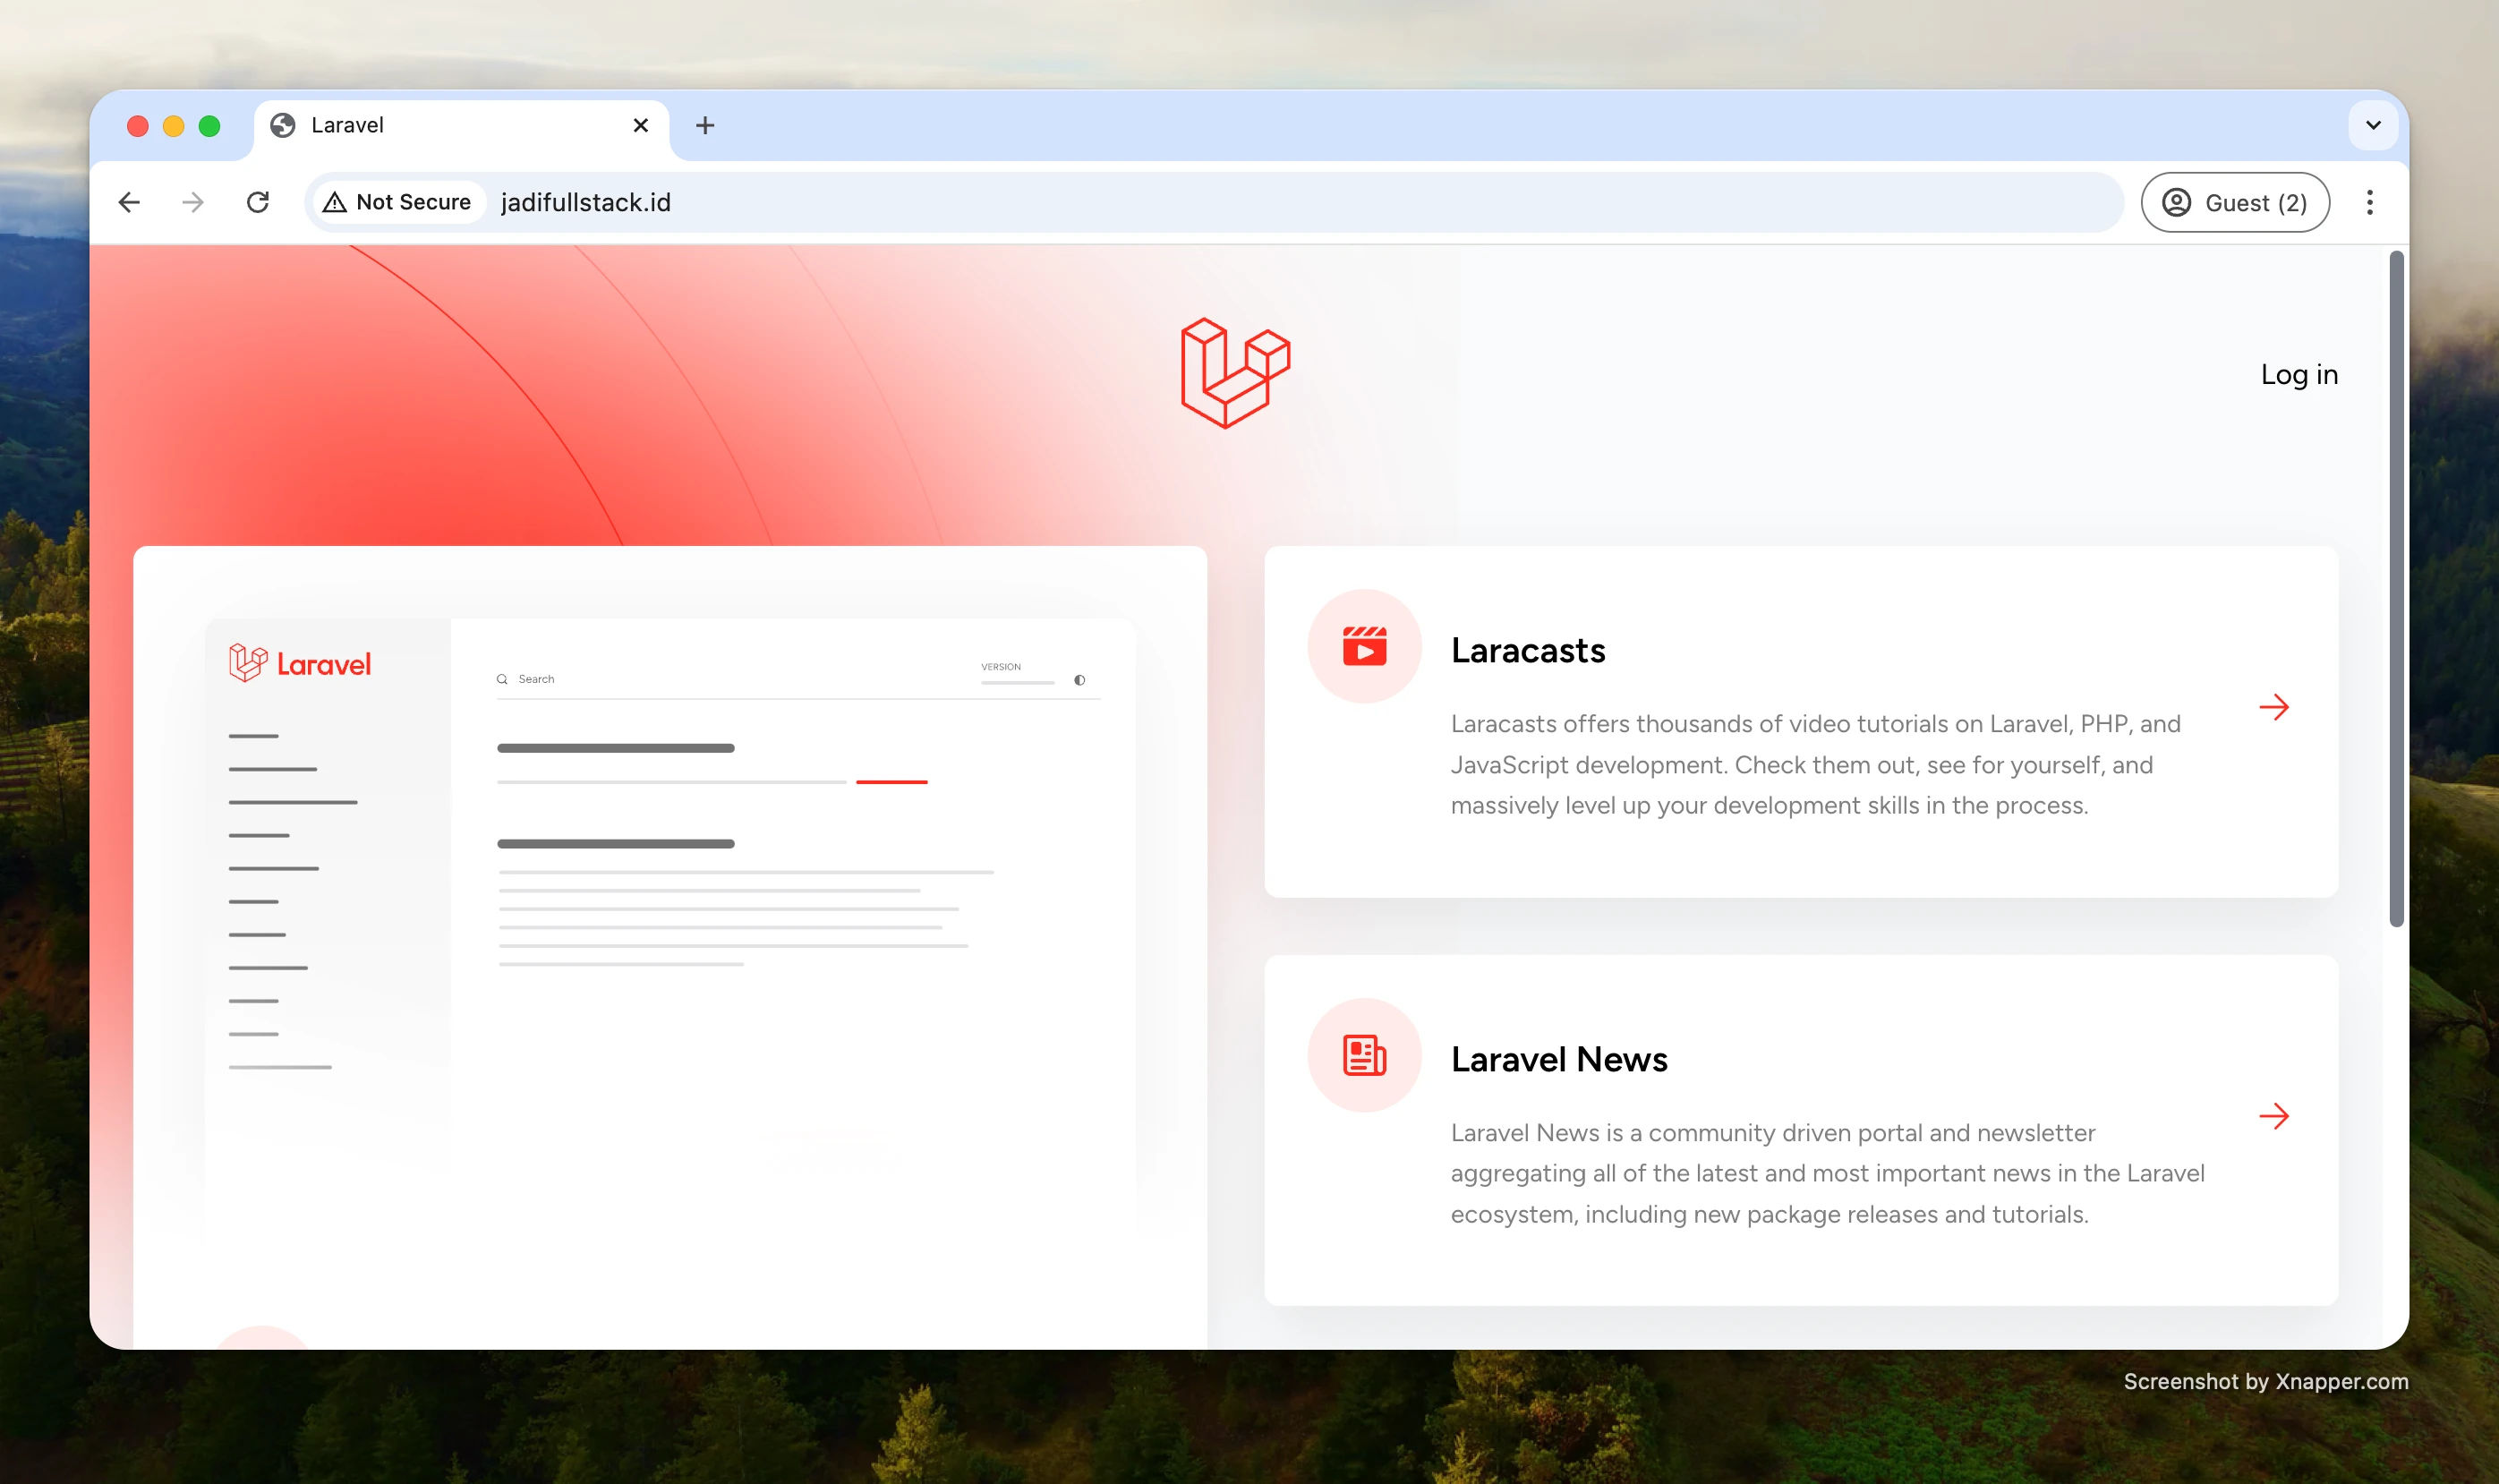
Before adding SSL, your website is likely still served over plain HTTP.
Example:
http://jadifullstack.id
Step 2: Install Certbot and the Nginx Plugin
Make sure your system is up to date:
sudo apt update
sudo apt install certbot python3-certbot-nginx
Certbot is the tool that will communicate with Let’s Encrypt and configure Nginx automatically.
Step 3: Request an SSL Certificate
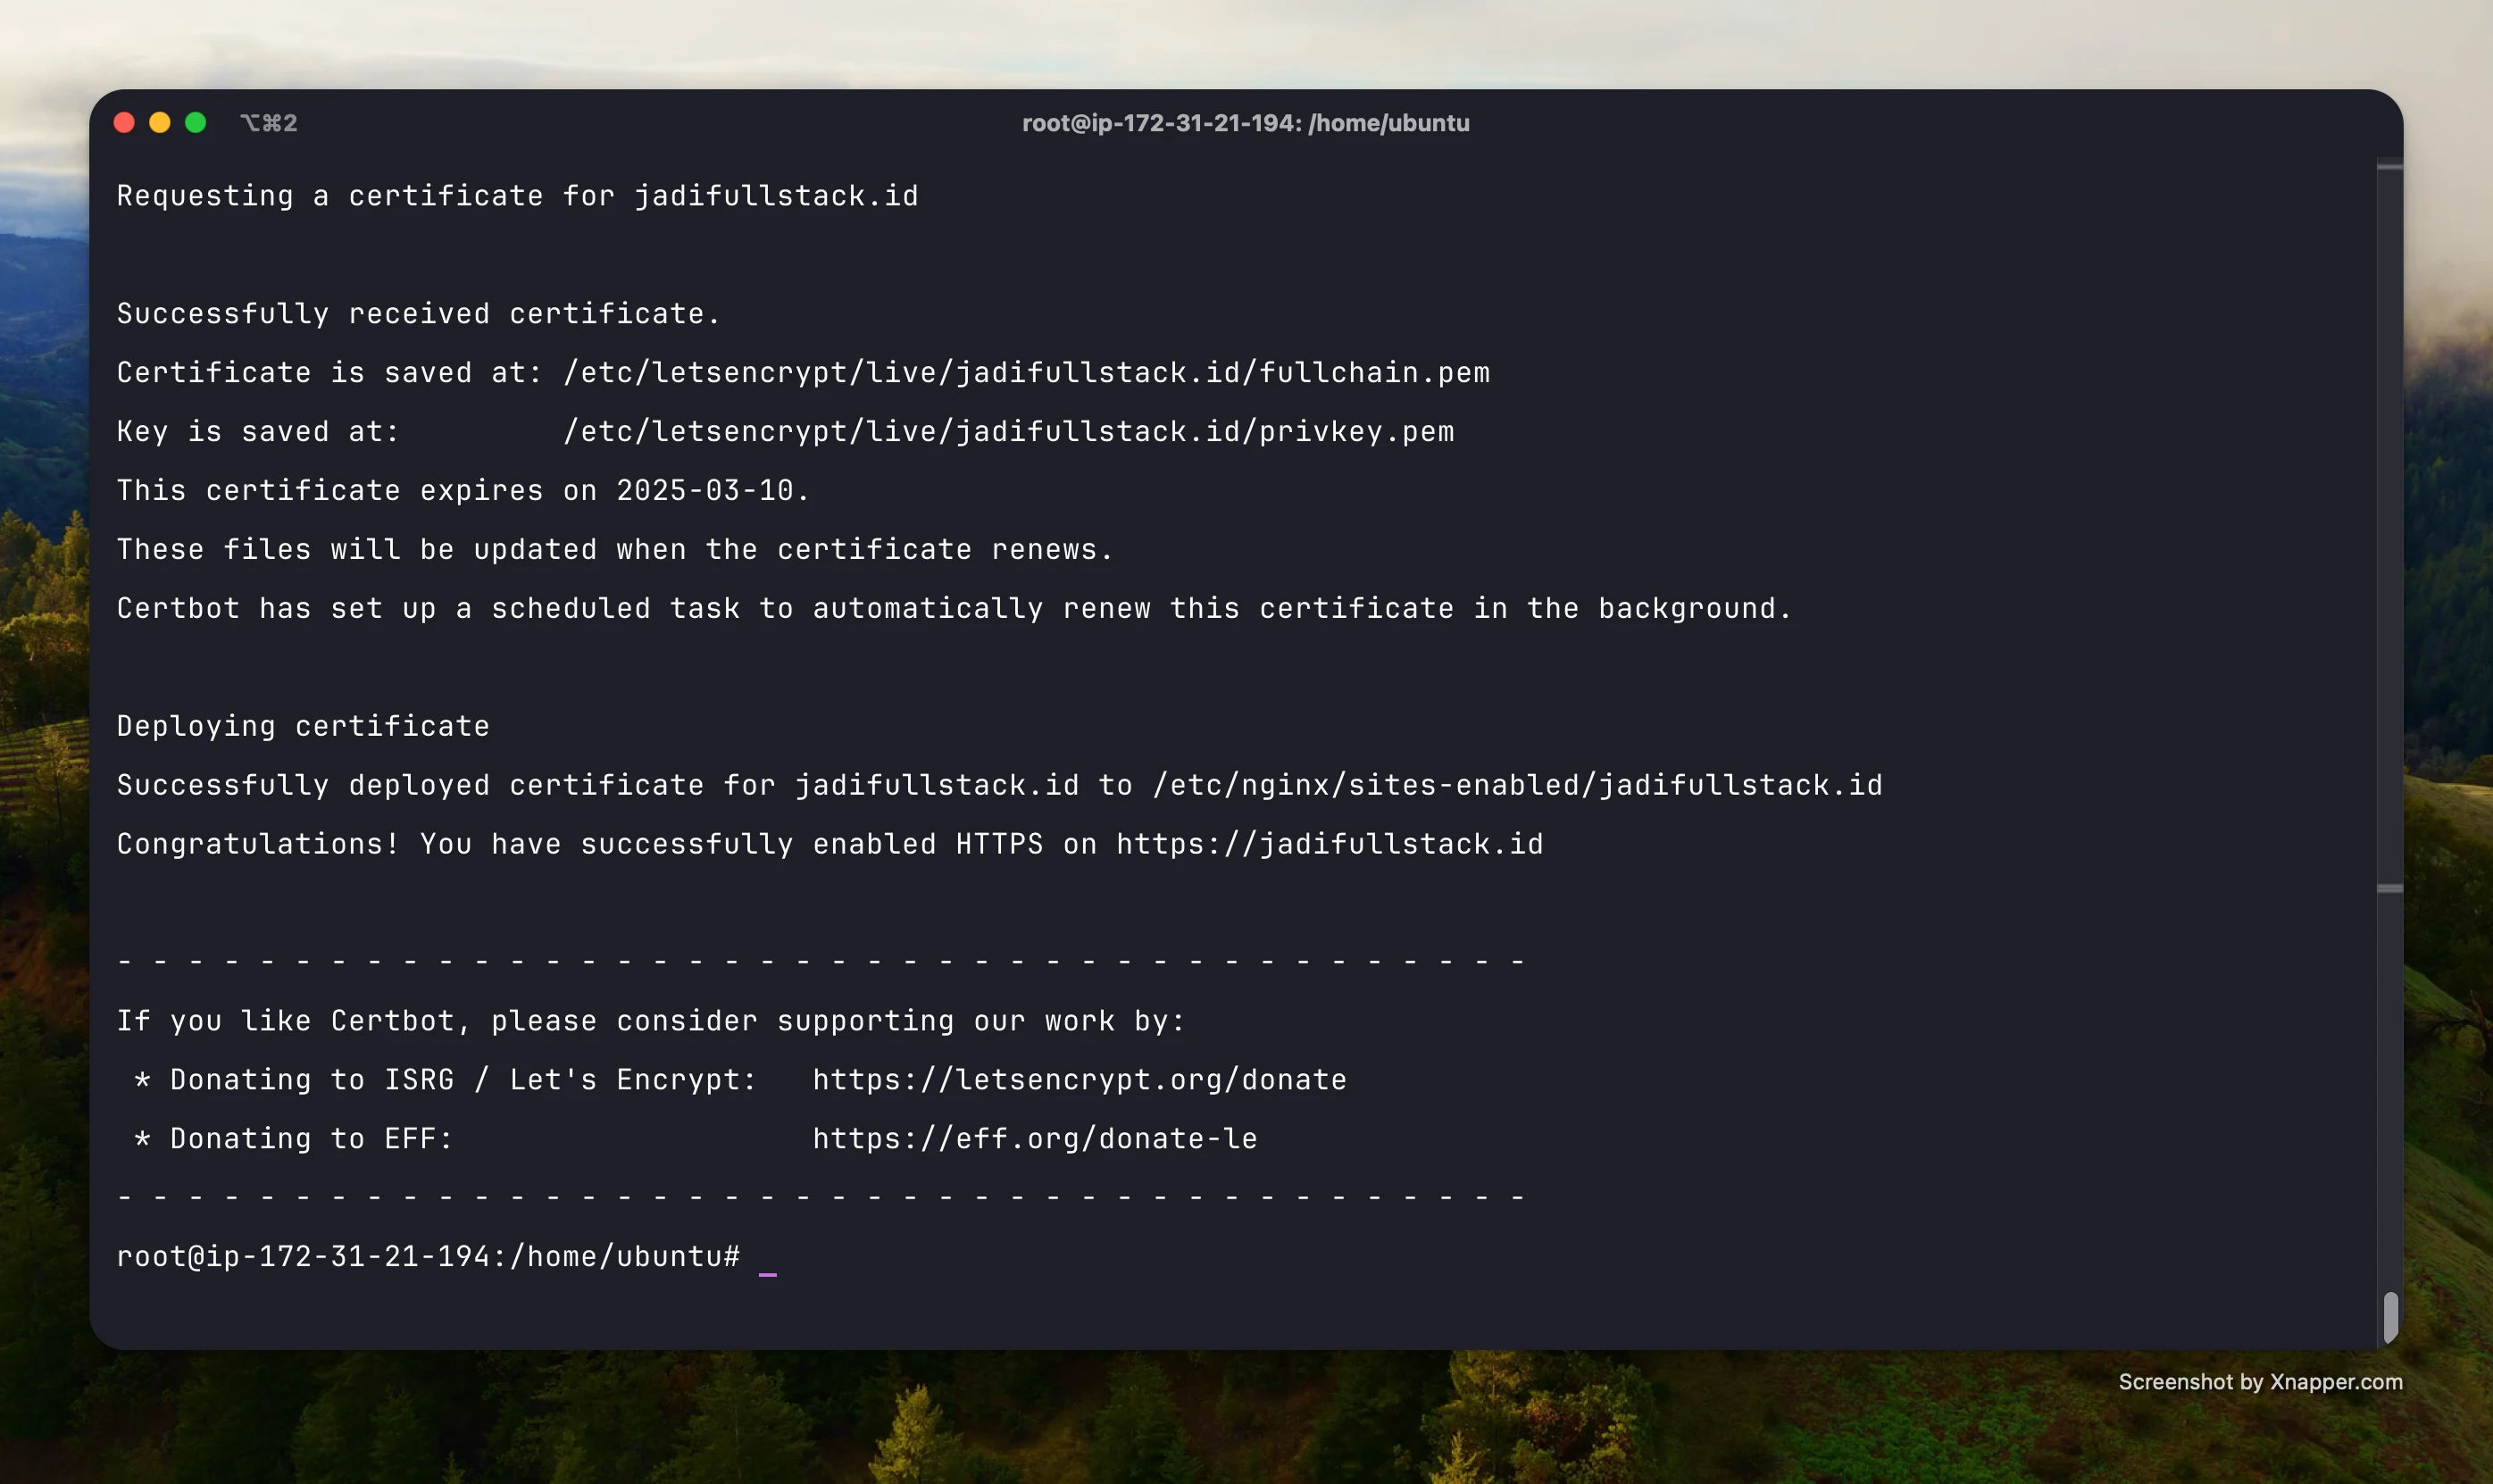
Run the following command to request and install your SSL certificate:
sudo certbot --nginx -d jadifullstack.id
If successful, you'll see a confirmation message:
"Successfully received certificate"
Step 4: Verify HTTPS is Working
After a successful setup, your website will now be accessible via HTTPS.
Example:
https://jadifullstack.id

Check that your browser shows a secure padlock and that HTTP requests are redirected to HTTPS.
Step 5: Enable Auto Renewal
Let’s Encrypt certificates expire every 90 days. Certbot makes it easy to auto-renew them.
You can verify the auto-renewal configuration with this command:
sudo certbot renew --dry-run
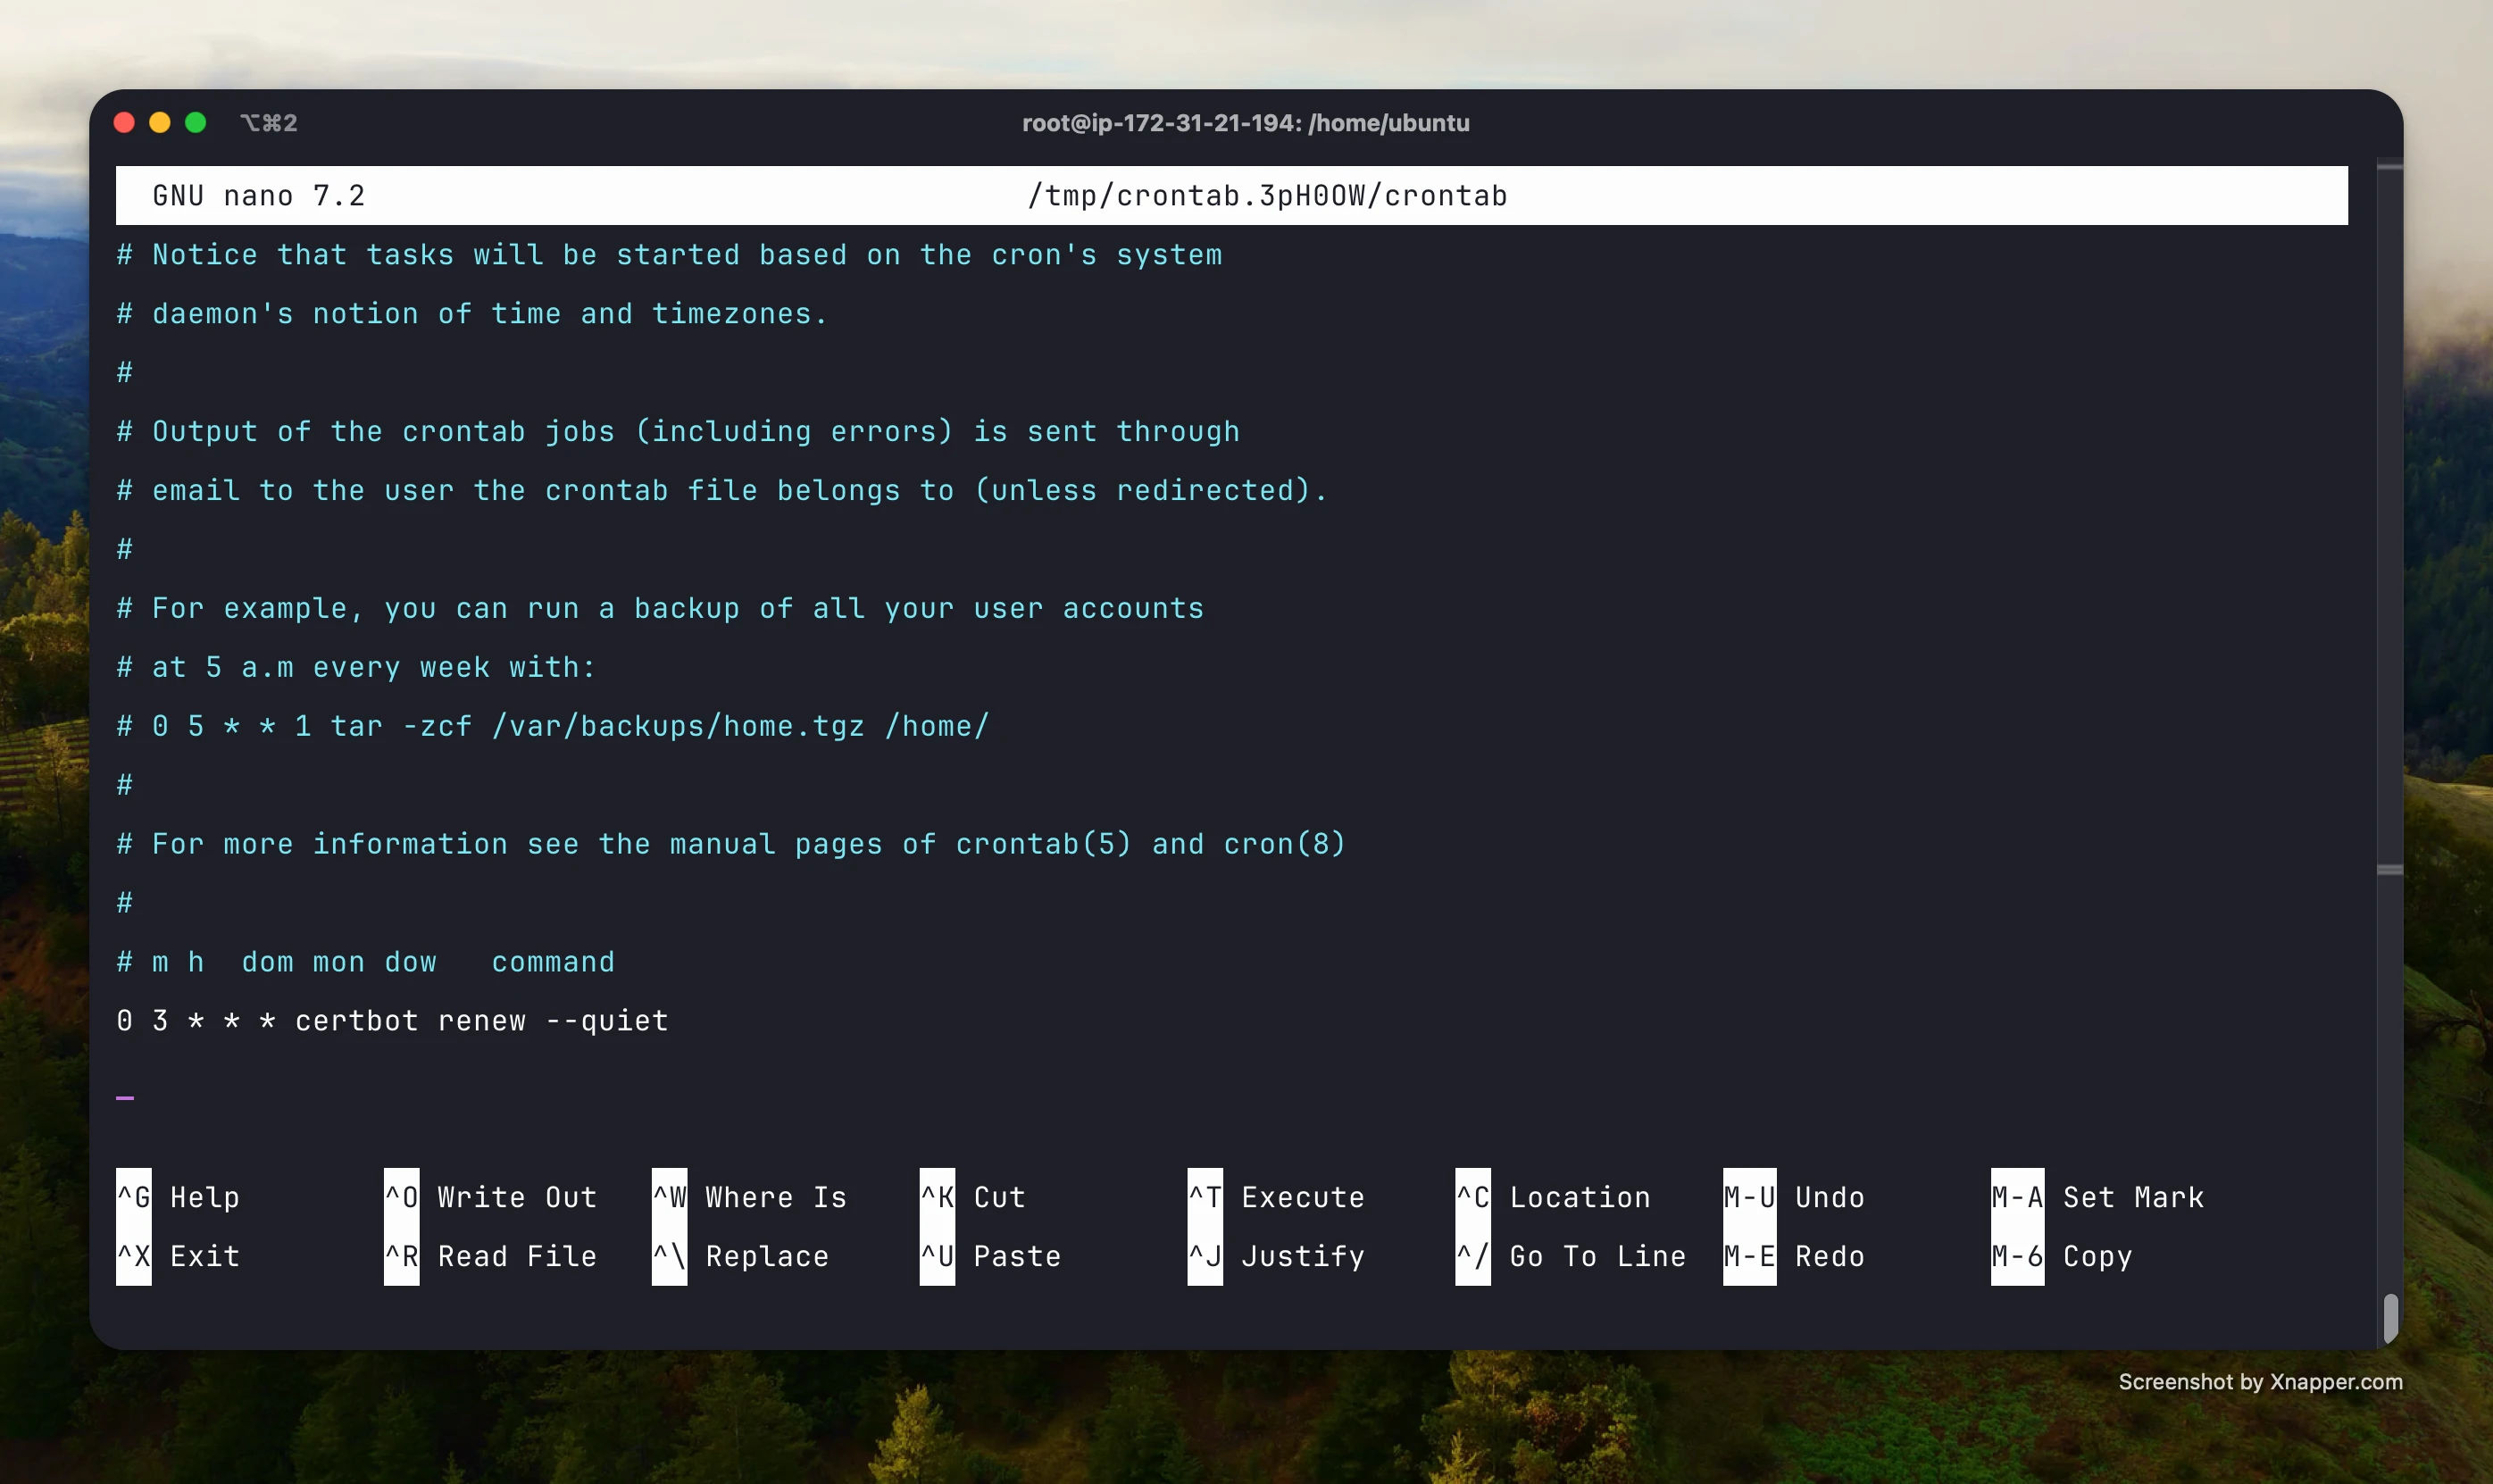
To schedule auto-renewal using cron, run:
crontab -e
Then add the following line to renew the certificate daily at noon:
0 12 * * * /usr/bin/certbot renew --quiet
Conclusion
Now your Ubuntu VPS running Nginx is secured with HTTPS using a free SSL certificate from Let’s Encrypt. This simple setup improves trust, SEO ranking, and data protection. Always monitor your certificate expiration or use Certbot's auto-renewal to avoid disruptions.
Want to take it further? Consider setting up a redirect from HTTP to HTTPS or enabling HTTP/2 for better performance!