How to Create an AWS S3 Bucket: Step-by-Step Guide for Beginners
Author: Ferry Dermawan
Date:
Tags: aws, devops
Amazon S3 (Simple Storage Service) is a popular cloud storage service from AWS that allows users to store and retrieve any amount of data at any time. Whether you're hosting static websites, storing backups, or serving media content, S3 is a reliable and scalable solution.
In this guide, you'll learn how to create an S3 bucket step-by-step using the AWS Console.
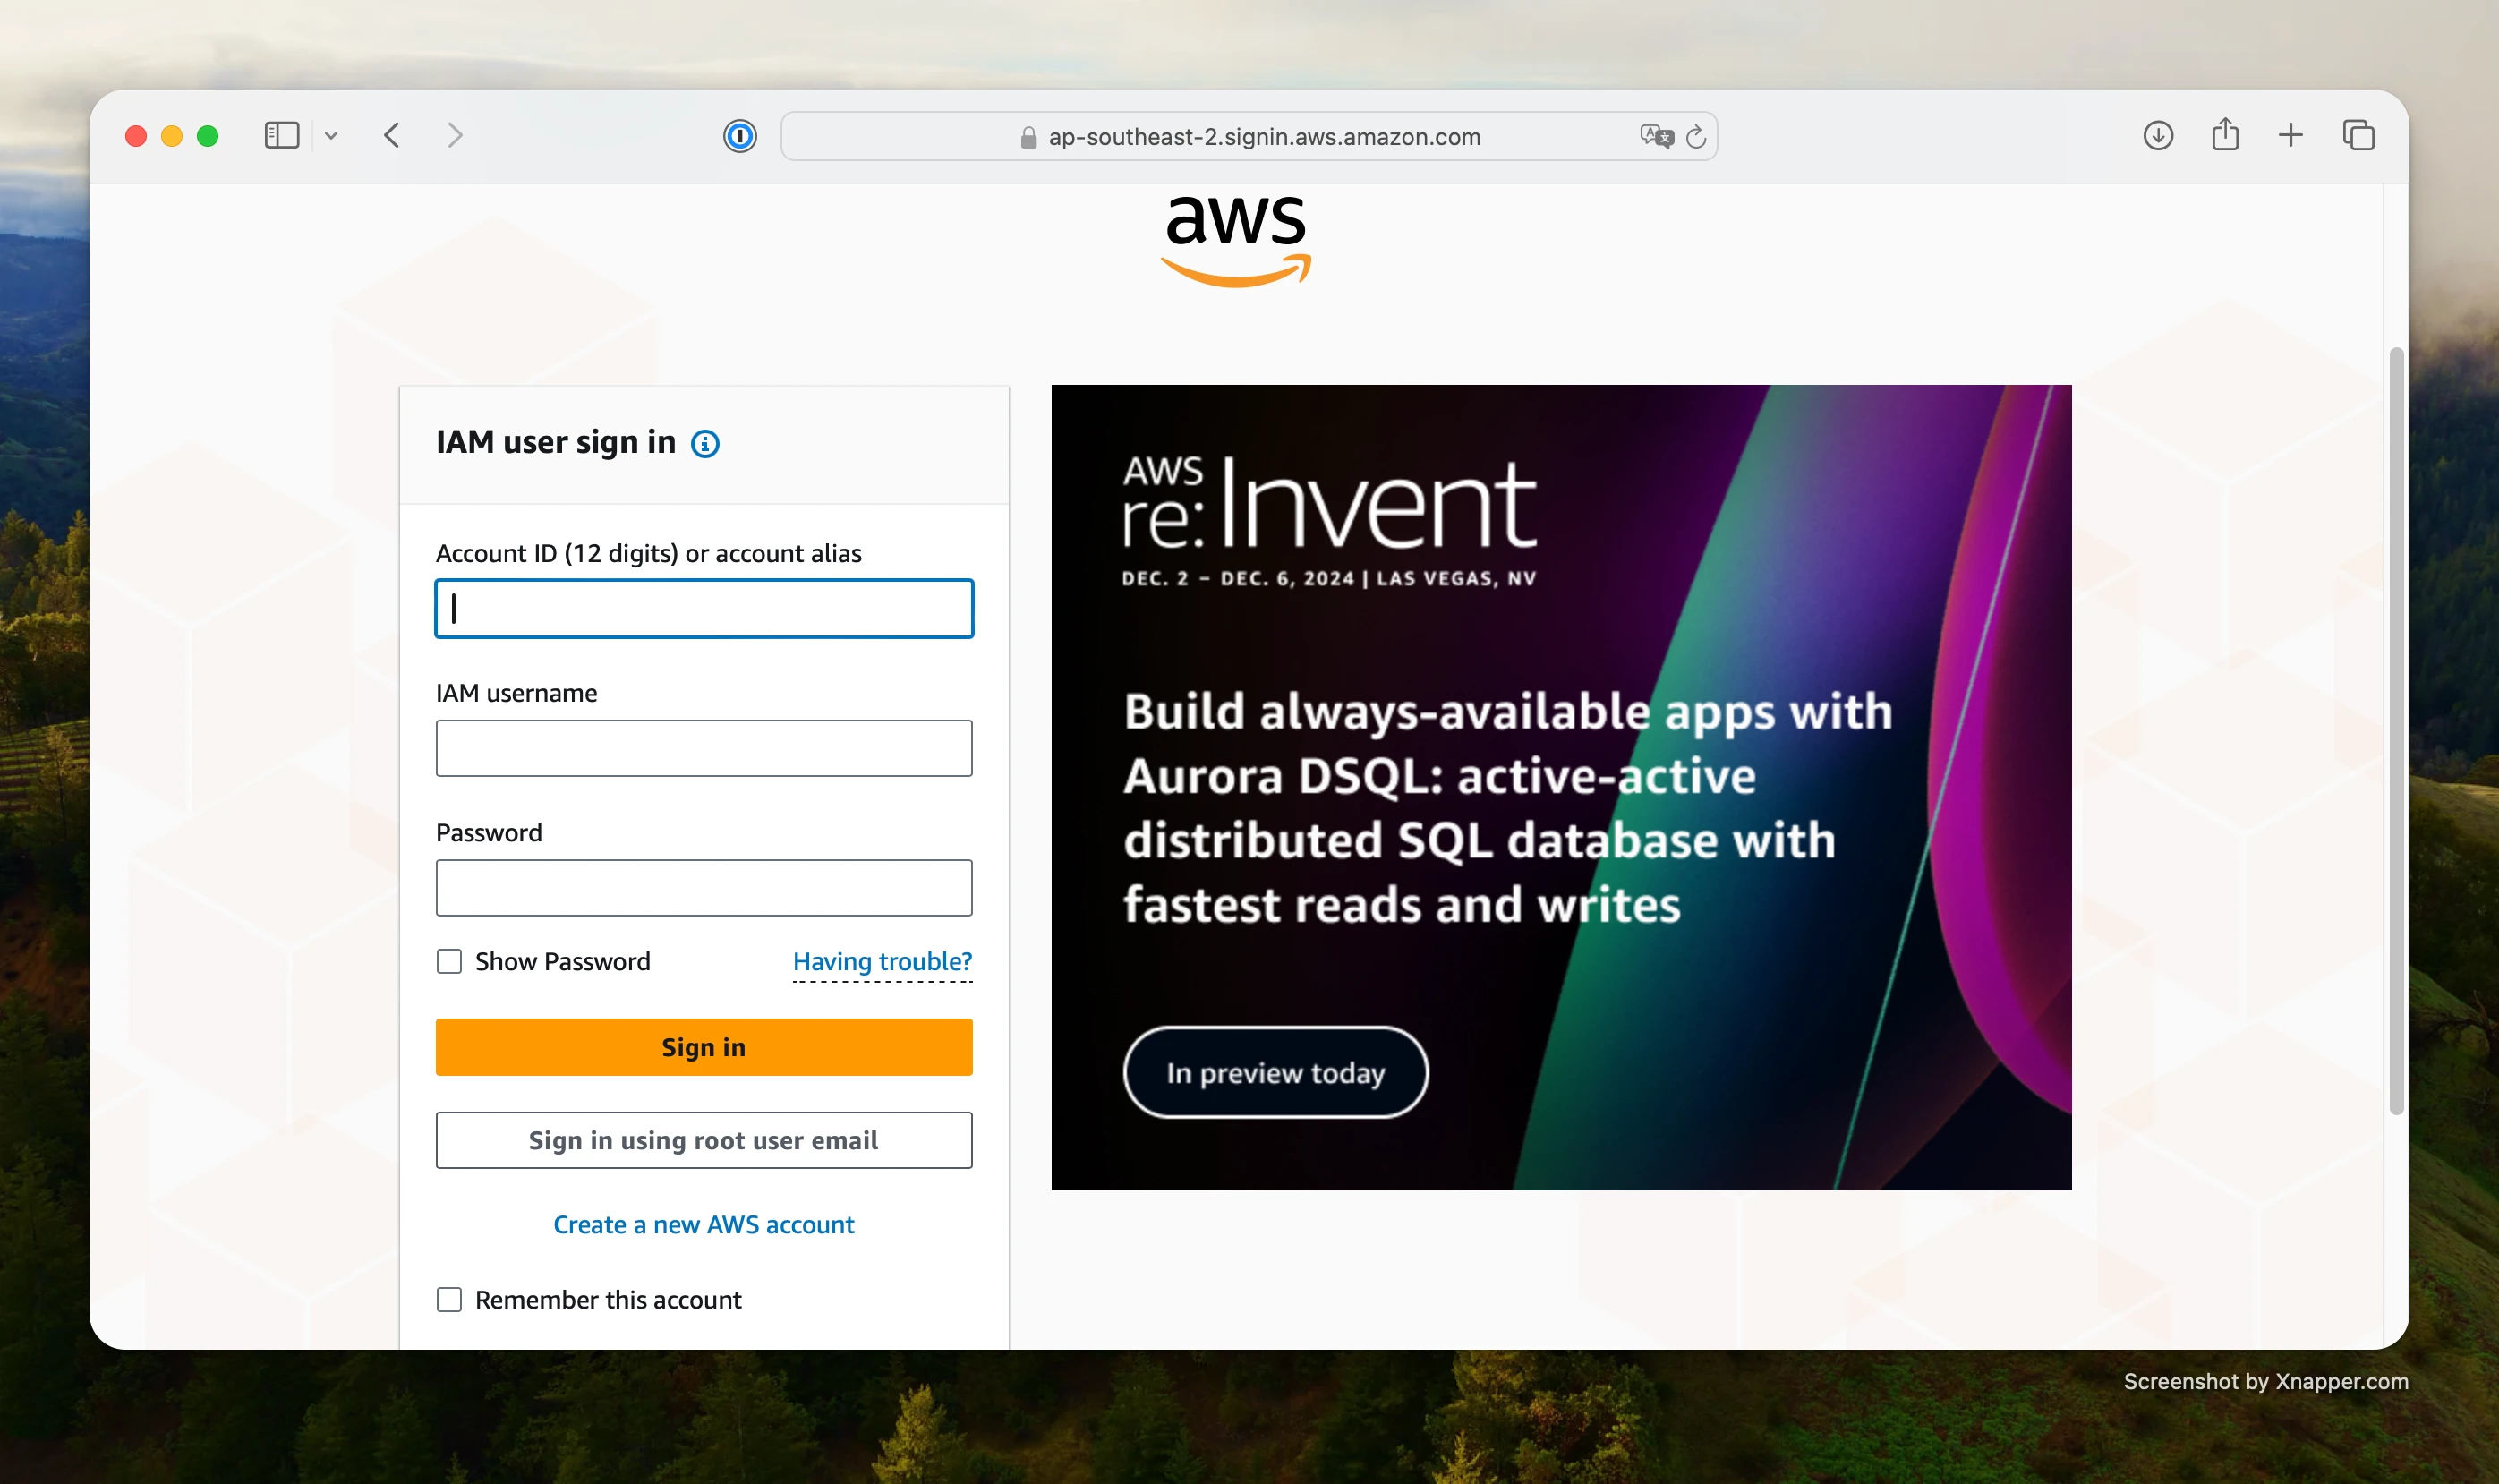
Step 1: Log in to AWS Console
Start by logging in to your AWS account via the AWS Management Console.
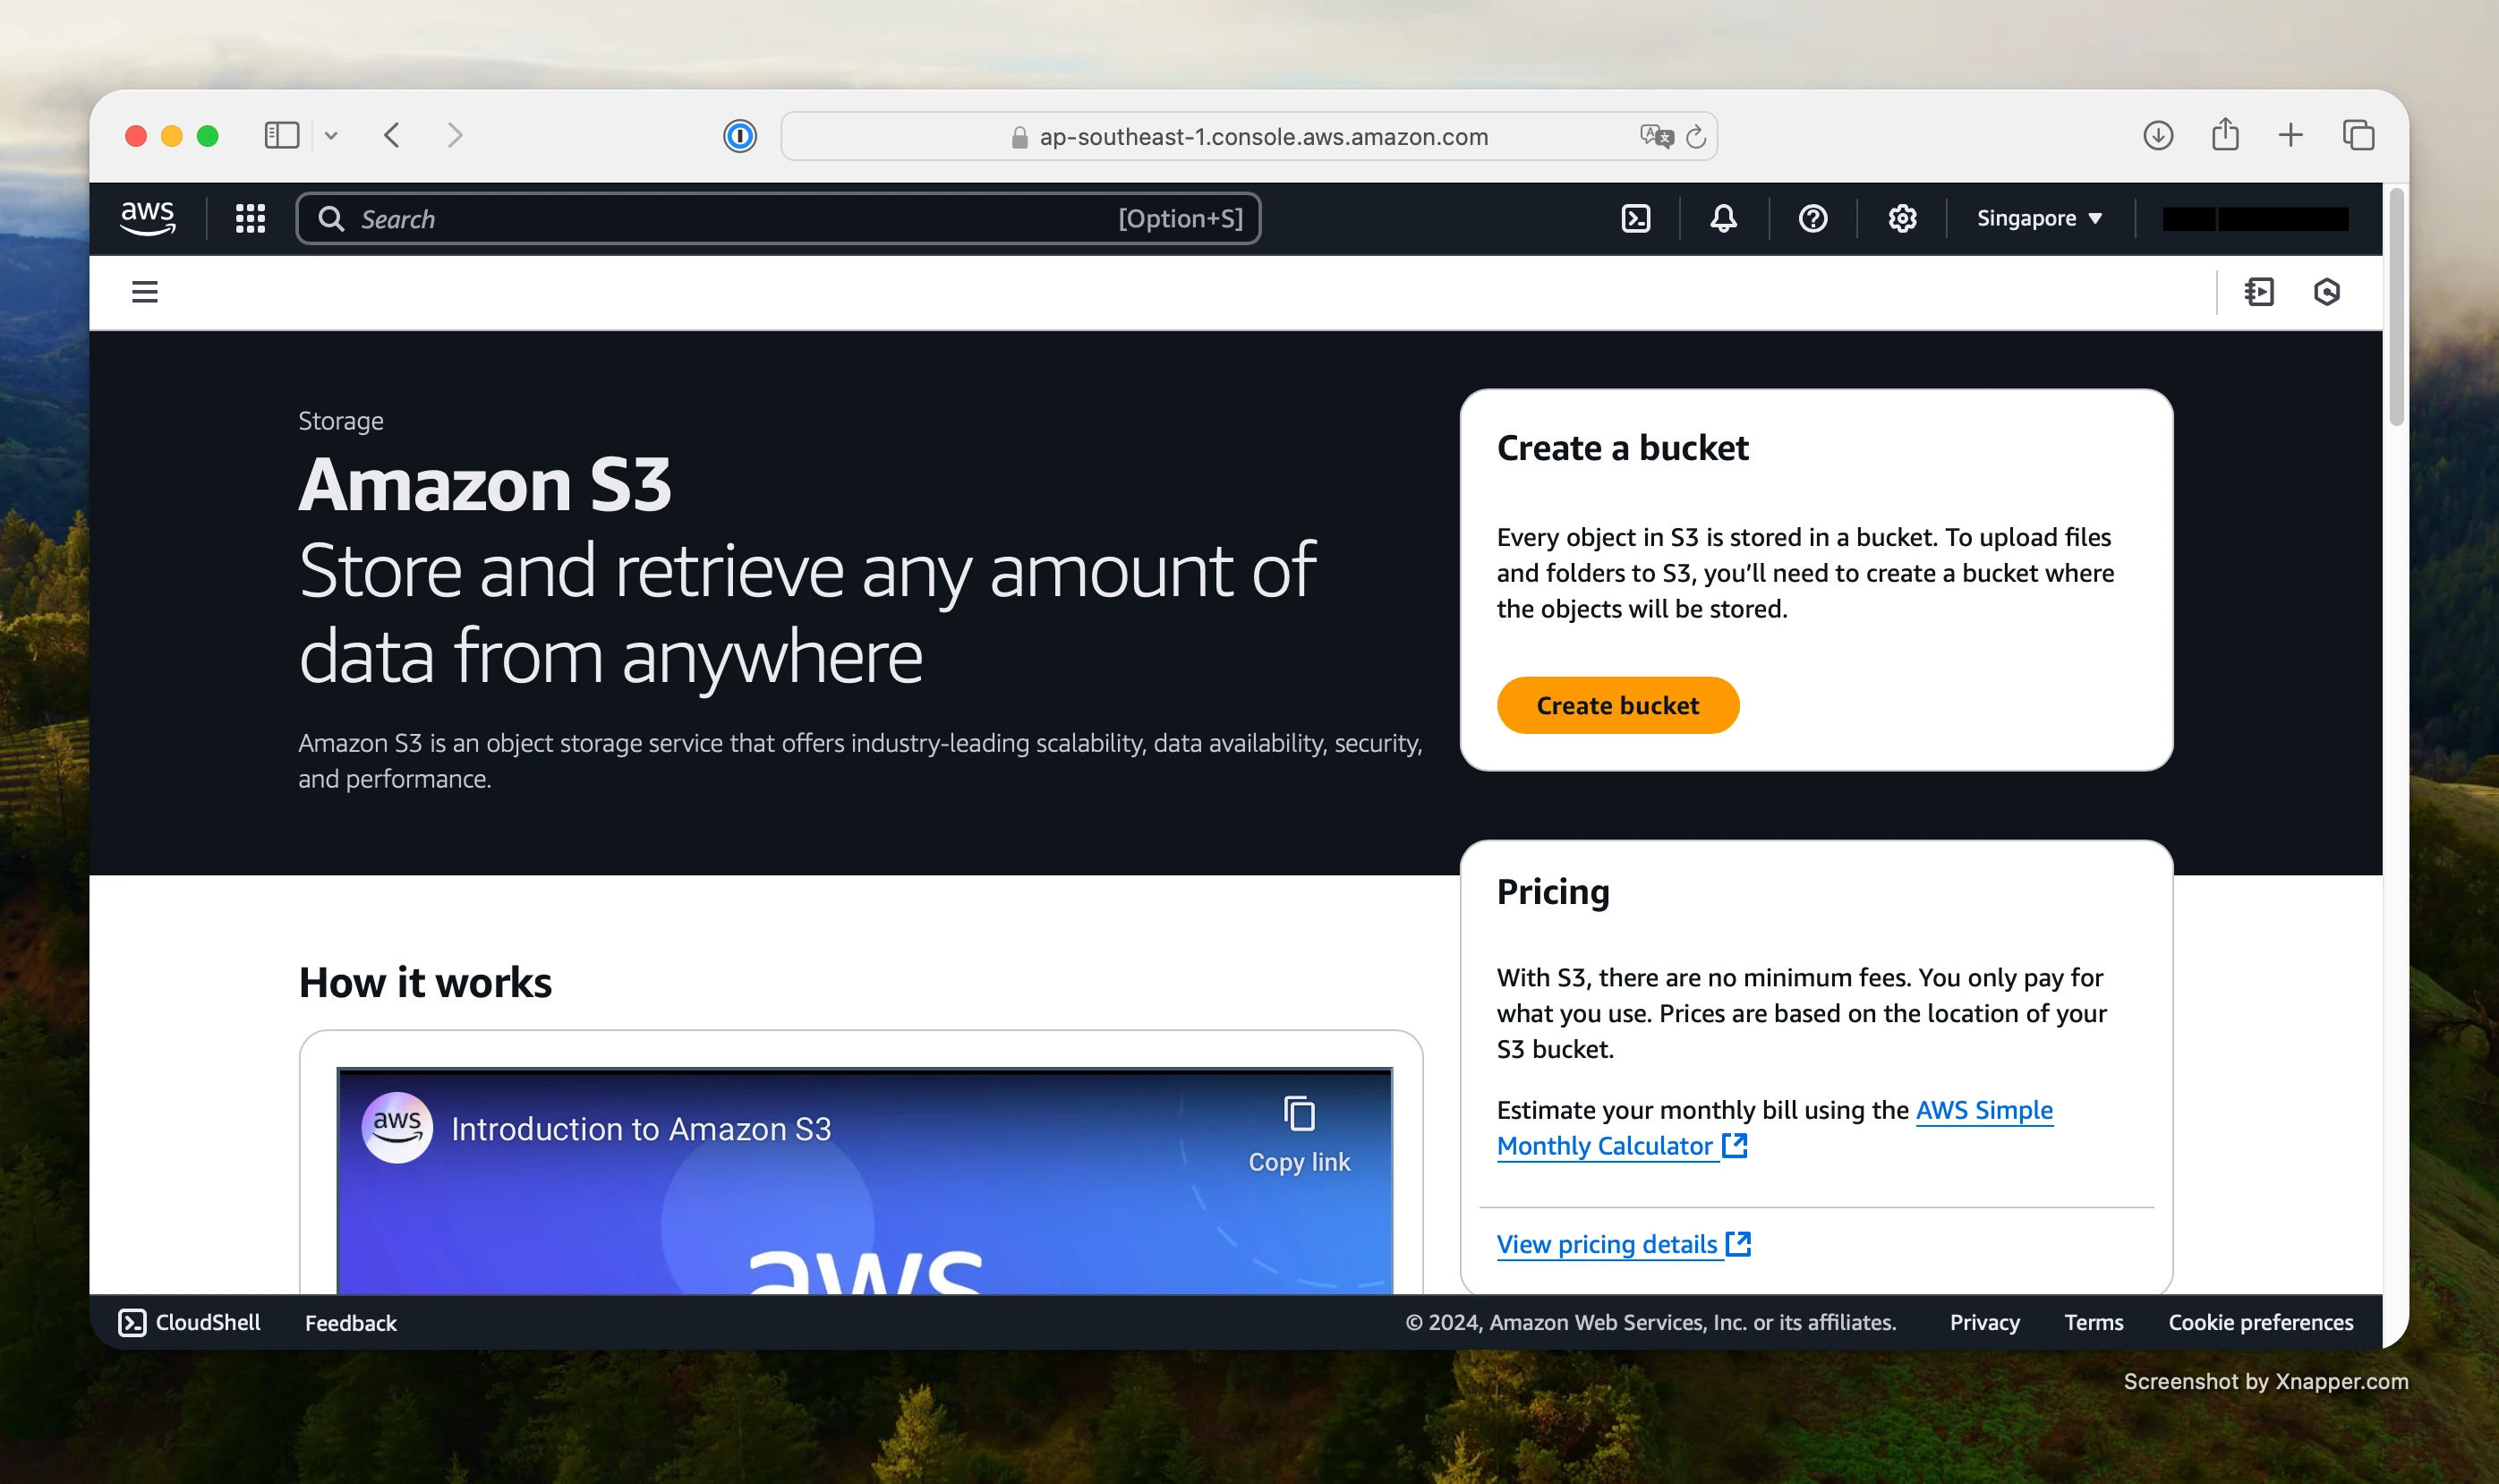
Step 2: Open the Amazon S3 Service
After logging in, search for S3 in the search bar at the top and click the S3 service.
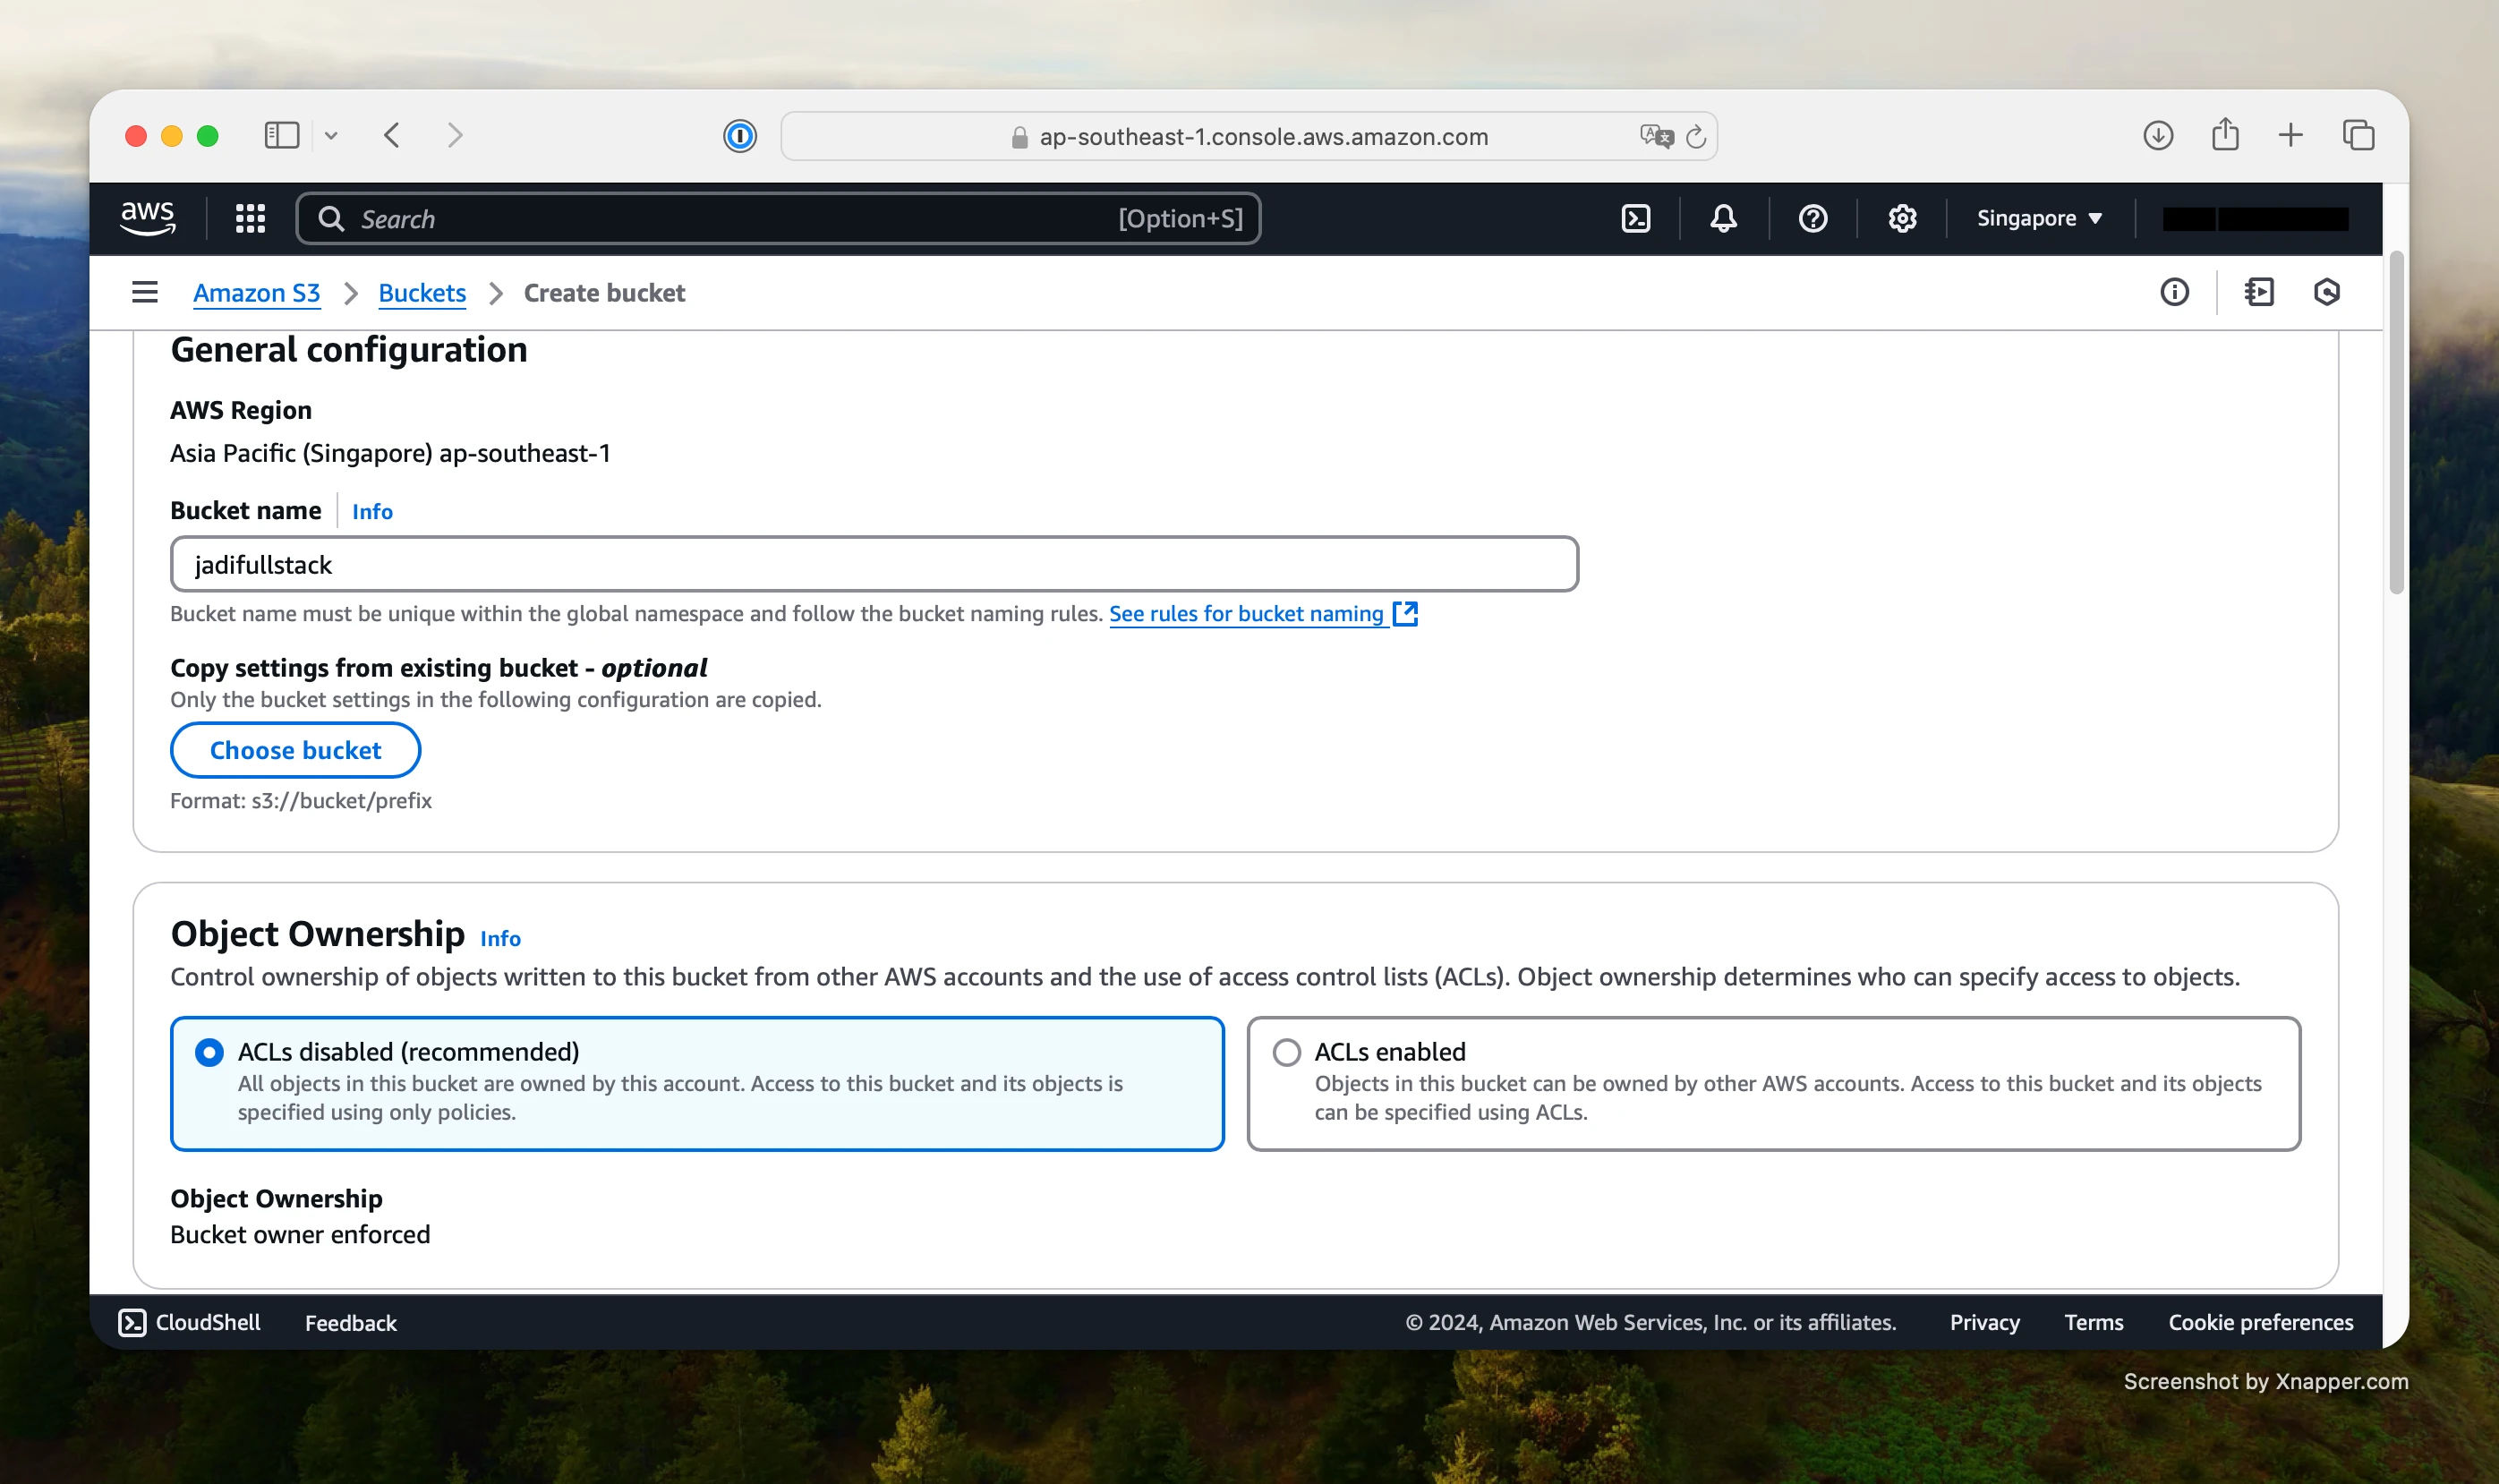
Step 3: Create a New Bucket
- Click the Create bucket button.
- Enter a unique Bucket name (must be globally unique).
- Under Object Ownership, choose ACLs disabled (recommended) to simplify permissions.
Step 4: Configure Encryption
- Scroll down to the Default encryption section.
- Choose Amazon S3 managed keys (SSE-S3).
- Enable the Bucket Key to reduce the cost of encryption requests.

Step 5: Finalize and View Your Bucket
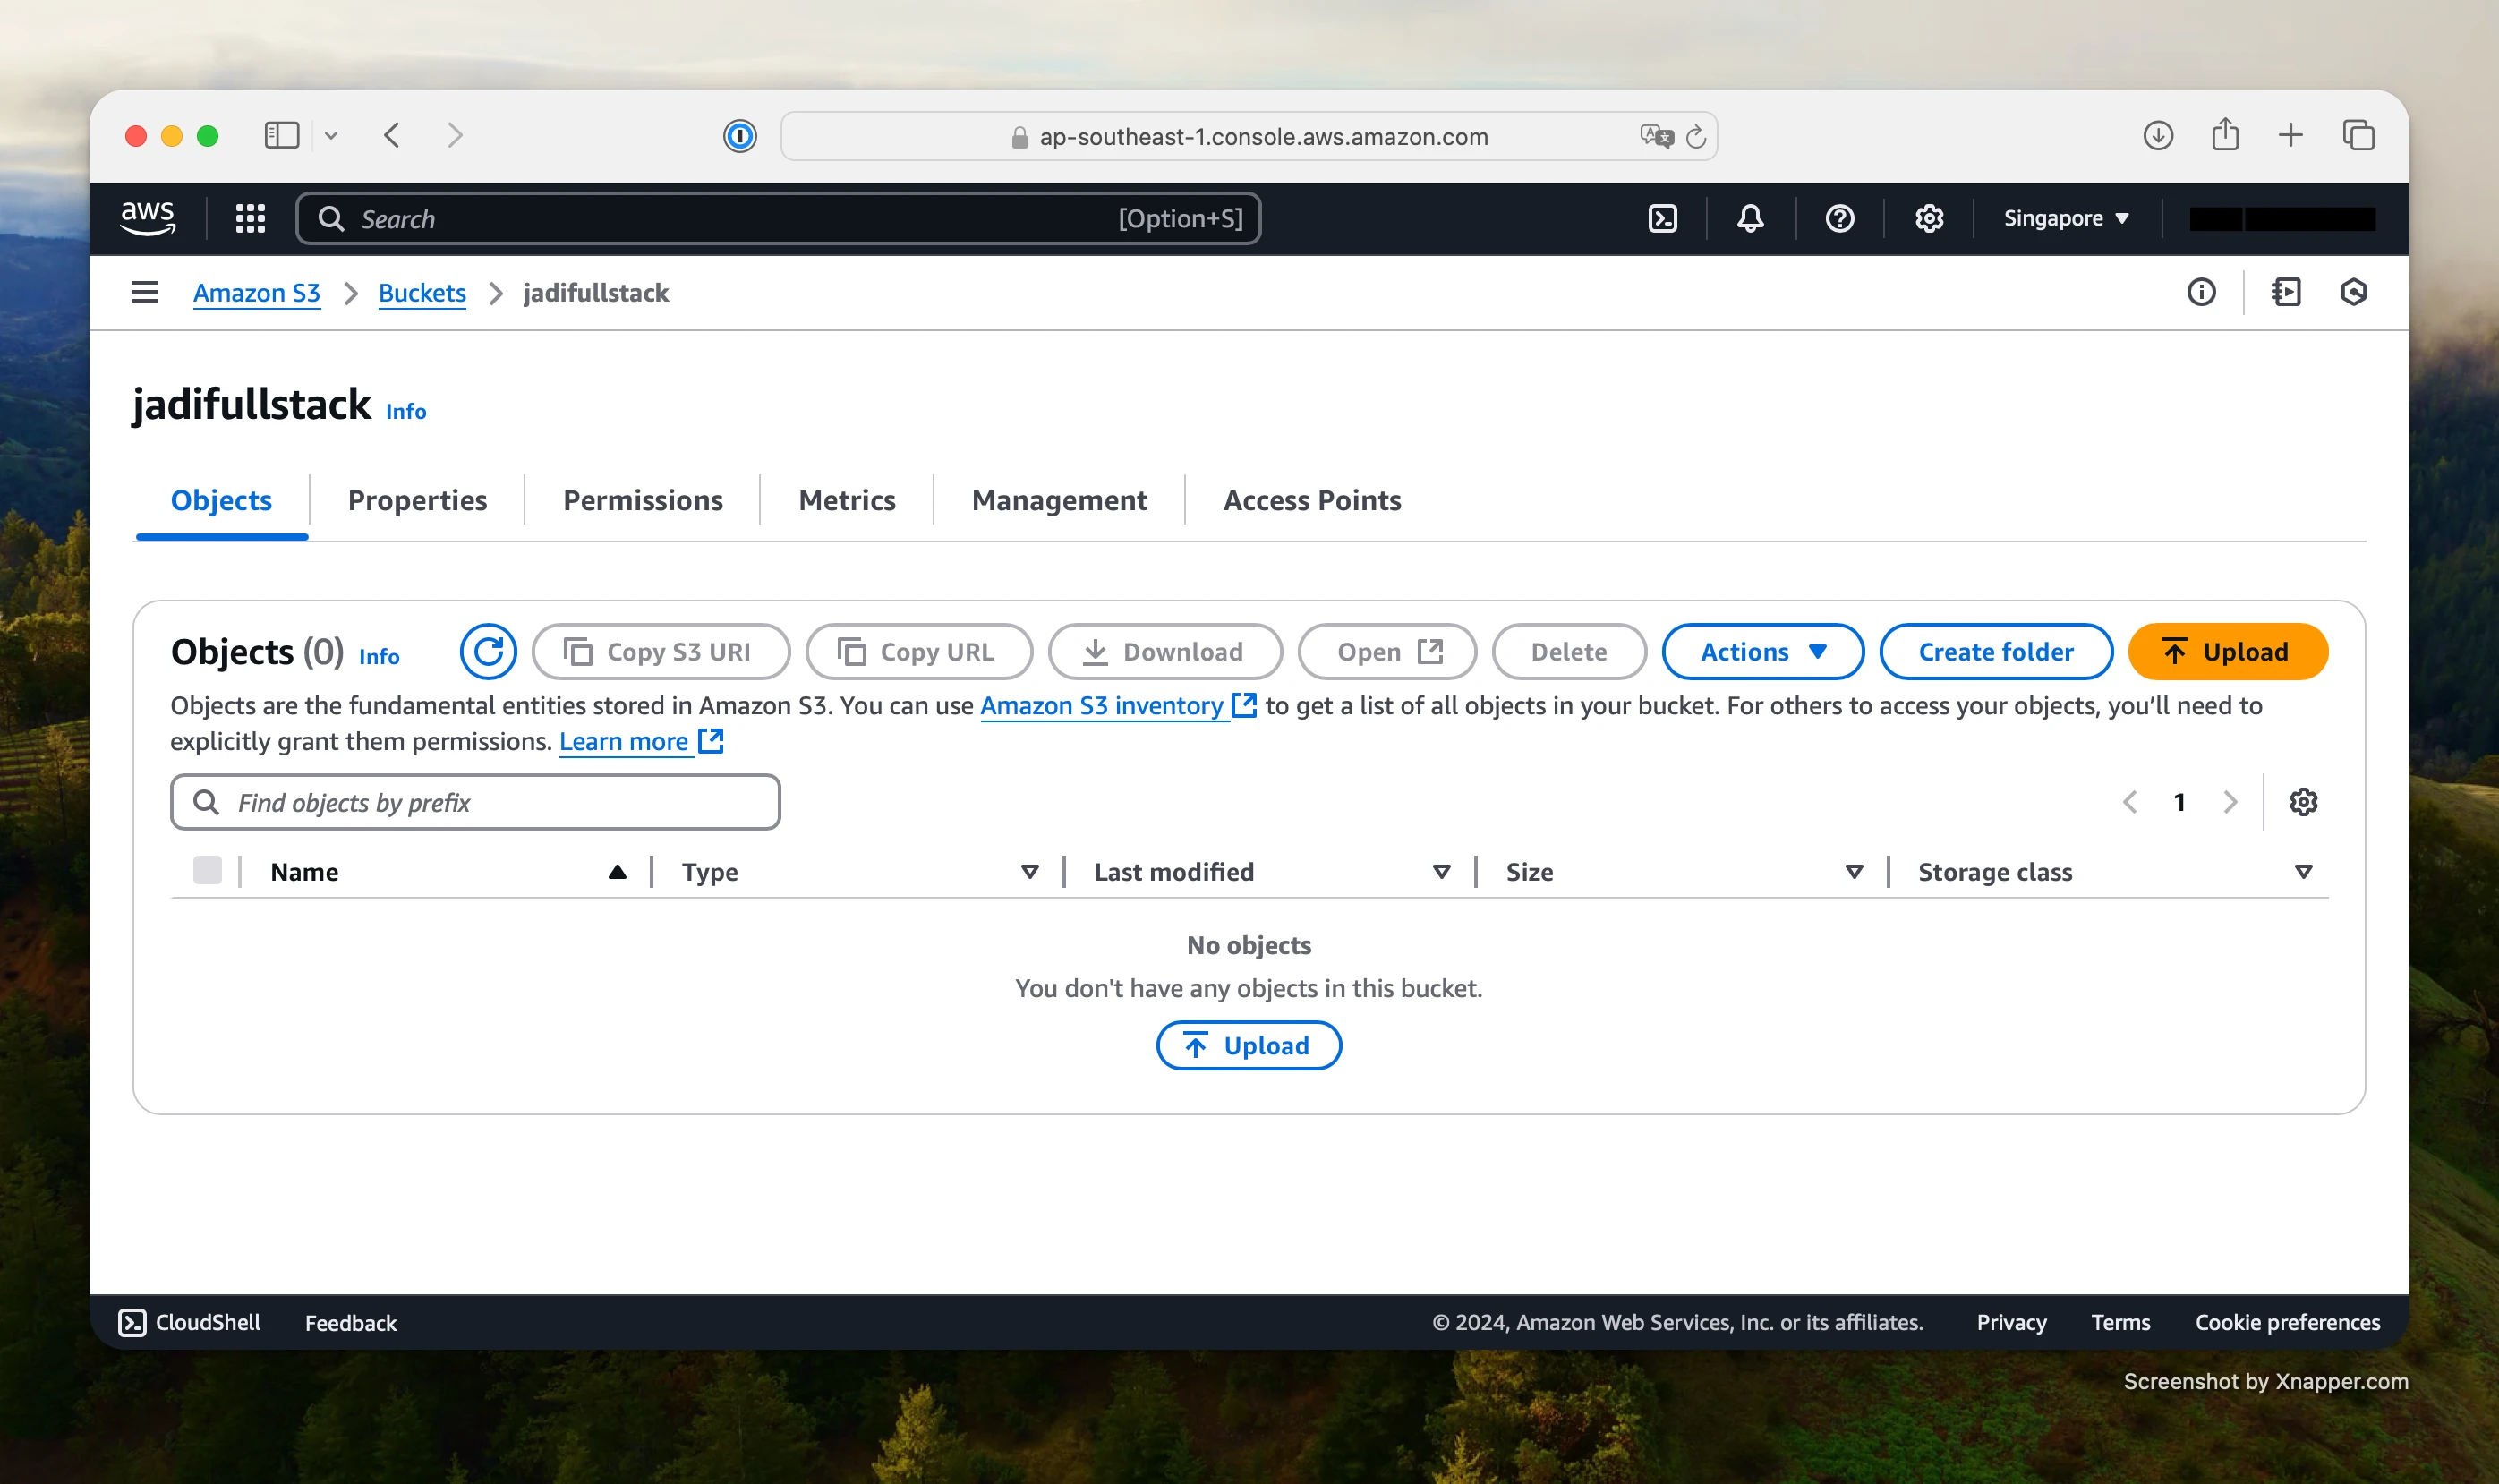
After completing the setup, your new bucket will appear in the S3 bucket list.
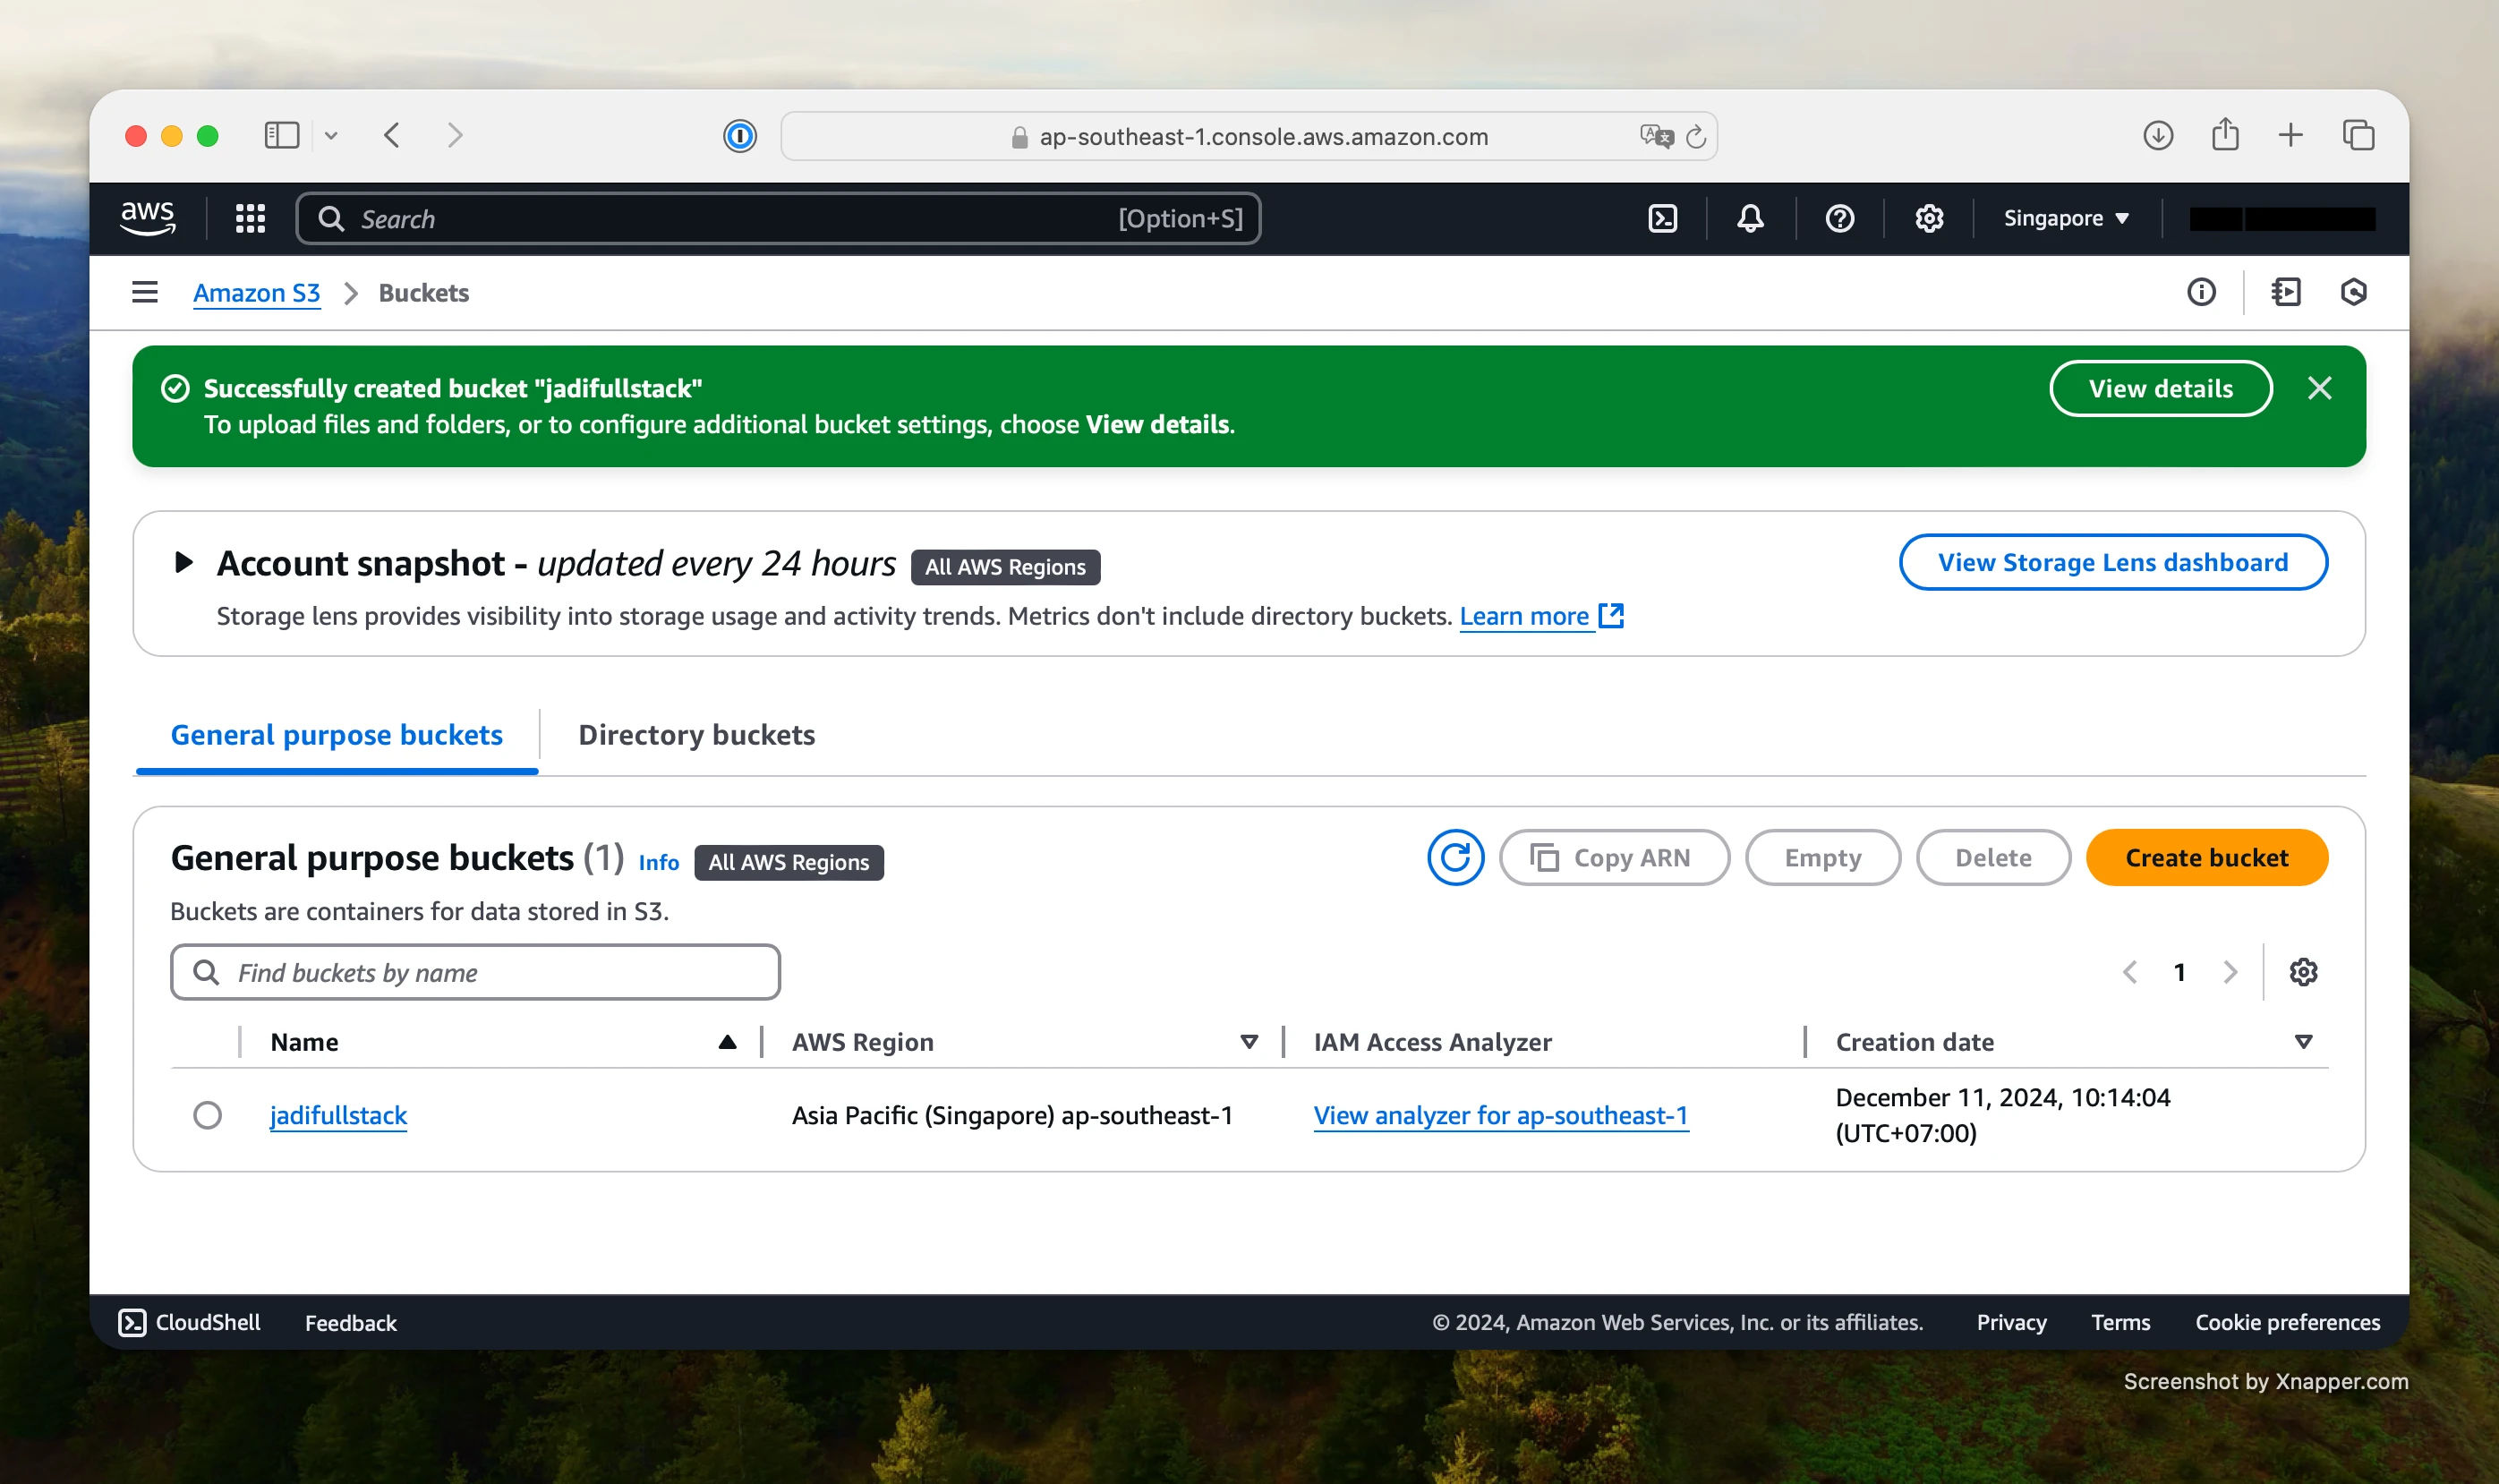
Click the bucket name to open it and start uploading files, setting permissions, or enabling static website hosting.
Conclusion
Setting up an S3 bucket is simple and essential for many AWS-powered applications. With just a few clicks, you can start storing data securely in the cloud. Don't forget to manage access policies and monitor your storage usage for optimal performance and cost.
Need help with setting permissions or enabling static site hosting? Stay tuned for our upcoming guides on advanced S3 configurations!