How to Deploy a Laravel Application to a VPS: Complete Step-by-Step Guide
Author: Ferry Dermawan
Date:
Tags: laravel, ubuntu, devops
Deploying your Laravel application to a VPS gives you full control over your environment, performance, and security. In this guide, you'll learn how to deploy Laravel from GitHub to a VPS using the LEMP stack (Linux, Nginx, MySQL, PHP).
Step 1: Connect to Your VPS and Update the System
Start by connecting to your VPS via SSH. Once connected, update your package list and upgrade the system:
sudo apt update && sudo apt upgrade -y

Step 2: Install PHP and Required Extensions
Install PHP along with the extensions required by Laravel:
sudo apt install php php-cli php-common php-mbstring php-xml php-bcmath php-curl php-mysql unzip curl php-zip php-tokenizer php-fileinfo php-fpm -y
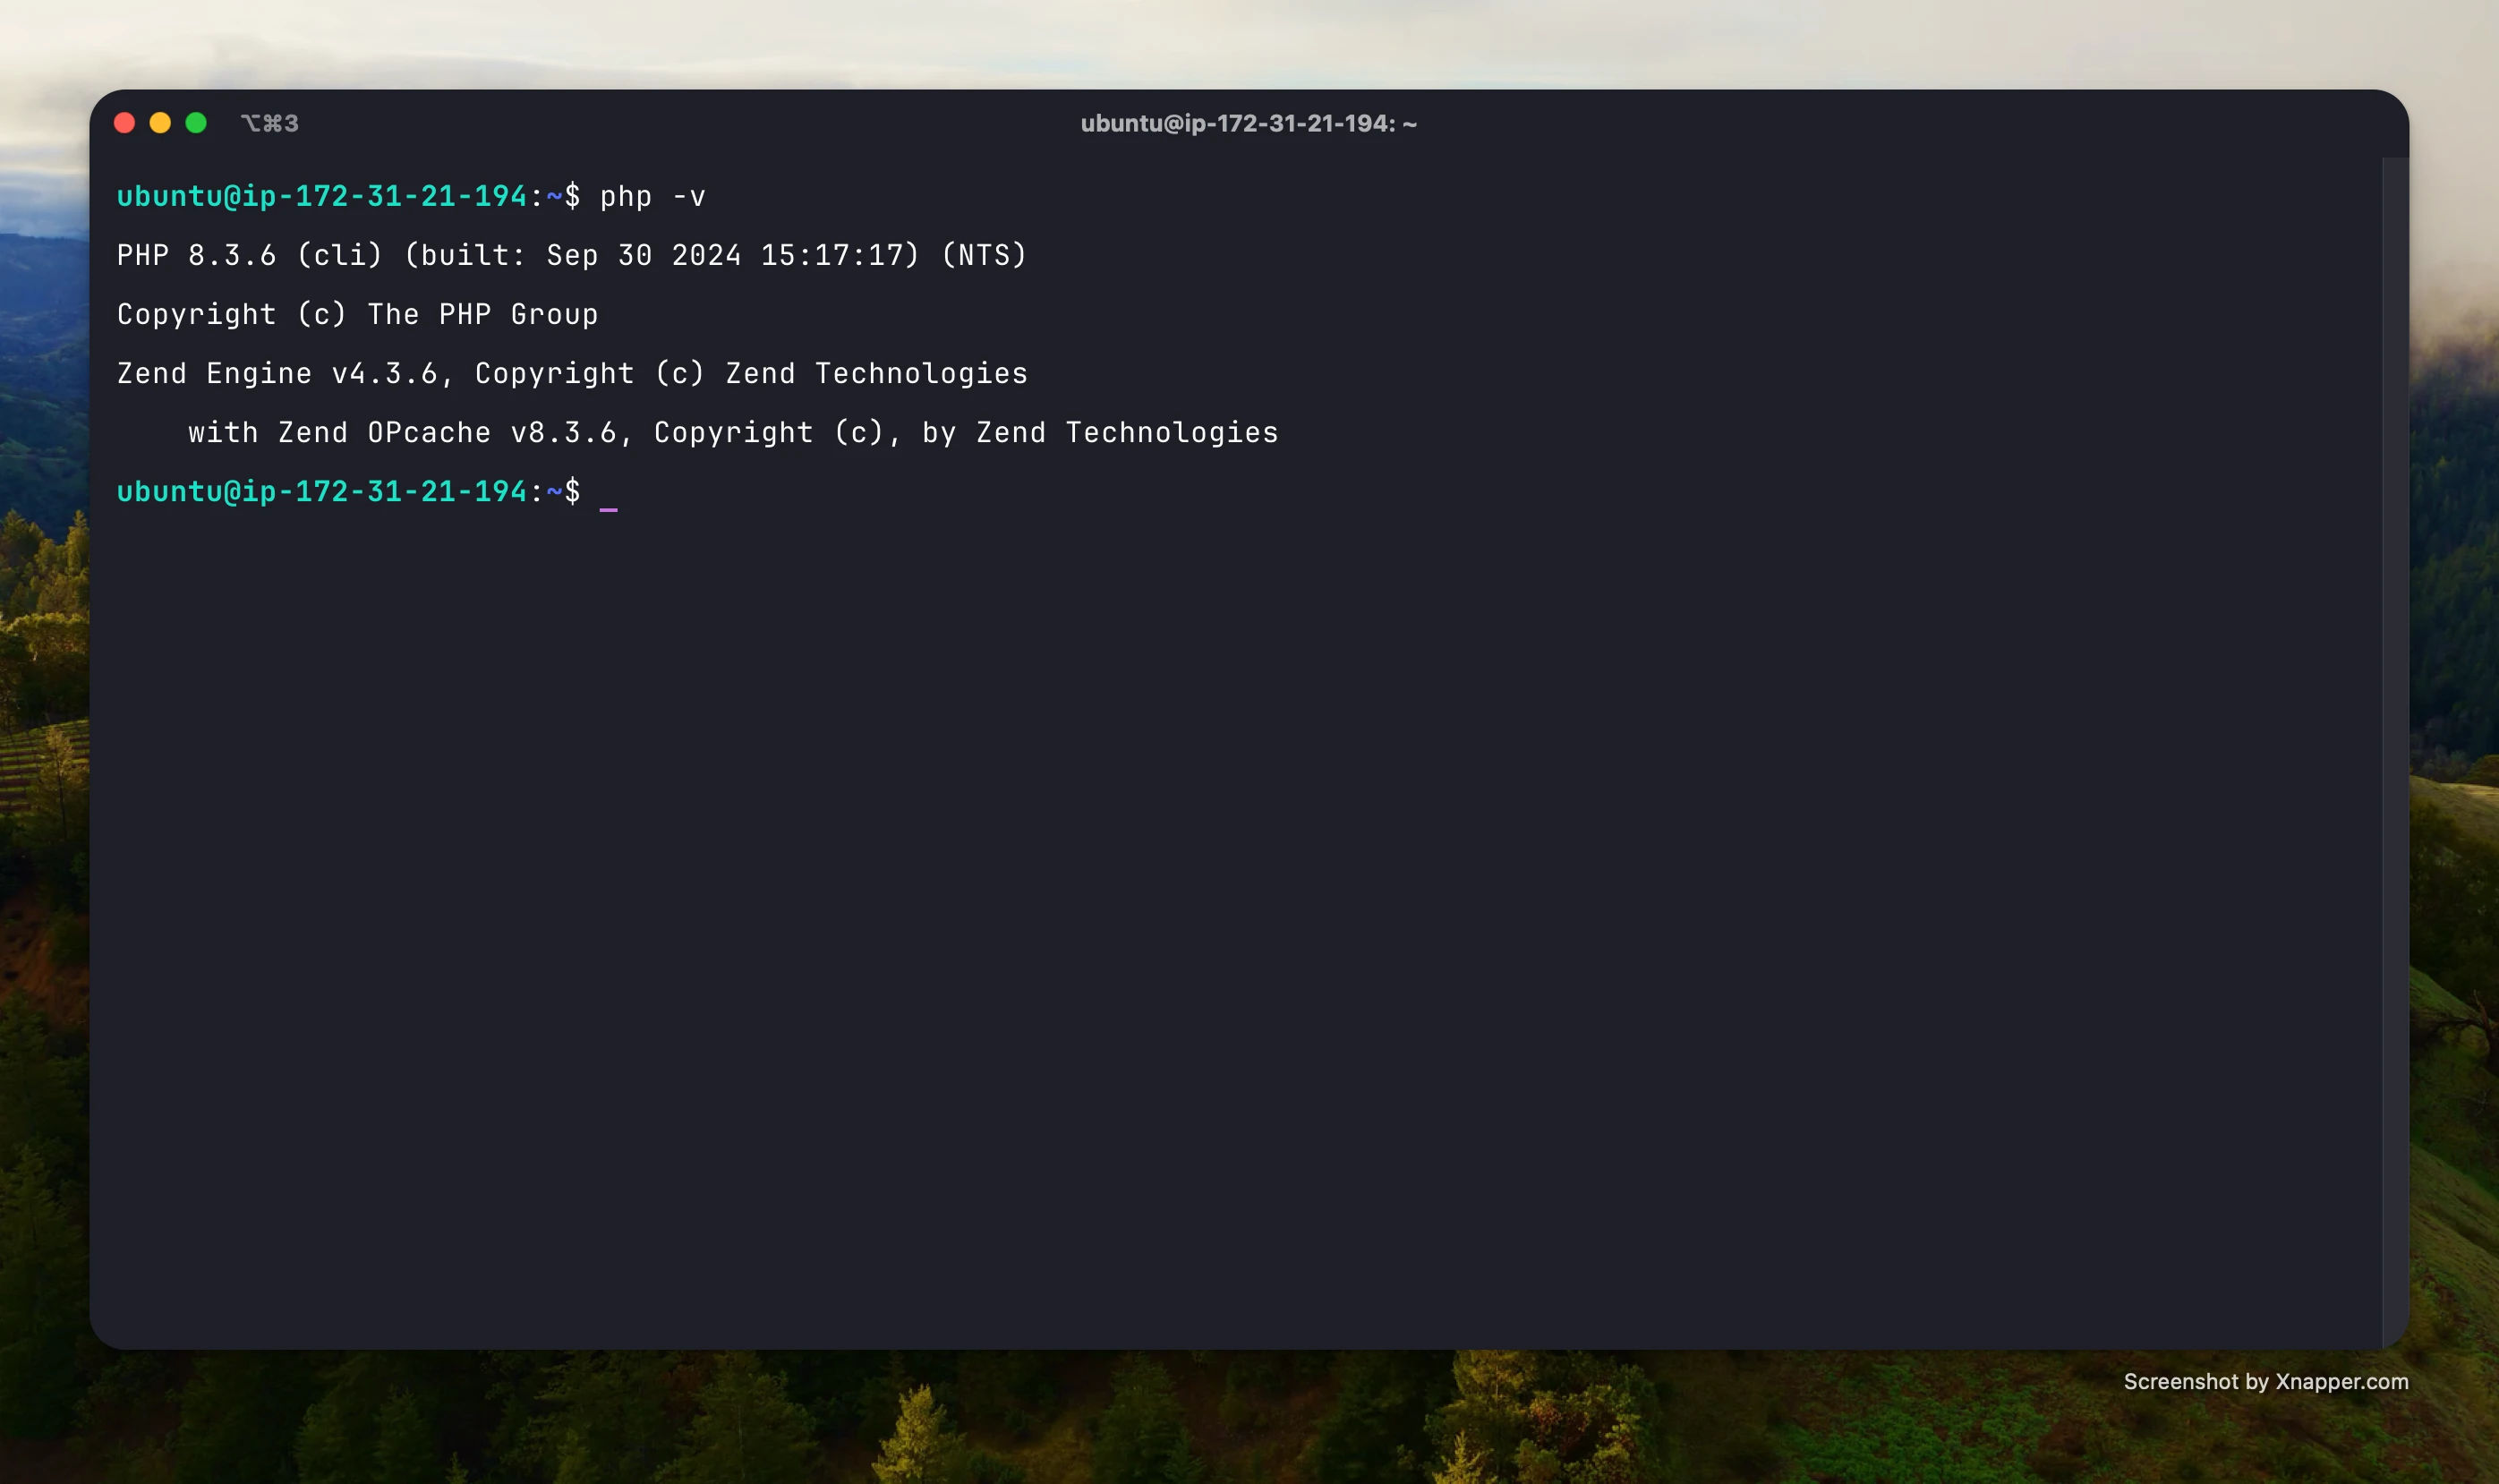
Check the installed PHP version:
php -v
Expected output: PHP 8.3 (or newer)

Step 3: Install MySQL and Create a Database
Install MySQL Server:
sudo apt install mysql-server -y
Access the MySQL shell:
sudo mysql

Create a database and a user for your Laravel app:
CREATE DATABASE laravel_db;
CREATE USER 'laravel_user'@'localhost' IDENTIFIED BY 'your_secure_password';
GRANT ALL PRIVILEGES ON laravel_db.* TO 'laravel_user'@'localhost';
FLUSH PRIVILEGES;
EXIT;
Step 4: Set Up SSH Key to Pull From GitHub
To pull your Laravel project from GitHub, add your VPS SSH key to GitHub:
-
Generate SSH key (if not yet):
ssh-keygen -t rsa -b 4096 -C "your_email@example.com" -
Copy the key:
cat ~/.ssh/id_rsa.pub -
Paste it into GitHub → Settings → SSH and GPG keys

Step 5: Clone the Laravel Project and Configure
Clone the repository into your web directory:
git clone git@github.com:yourusername/your-laravel-project.git
Navigate to the project folder:
cd your-laravel-project
Install dependencies and configure the app:
composer install
cp .env.example .env
php artisan key:generate
Update the .env file with your database credentials:
DB_DATABASE=laravel_db
DB_USERNAME=laravel_user
DB_PASSWORD=your_secure_password
Run Laravel migrations:
php artisan migrate
If your project uses frontend assets:
npm install && npm run build
Set permissions for the storage and bootstrap directories:
sudo chown -R www-data:www-data .
sudo chmod -R 775 storage bootstrap/cache
Step 6: Configure Nginx
Create a new server block for Laravel:
sudo nano /etc/nginx/sites-available/your-laravel-project
Paste the following configuration:
server {
    listen 80;
    server_name yourdomain.com;
    root /var/www/your-laravel-project/public;

    index index.php index.html index.htm;

    location / {
        try_files $uri $uri/ /index.php?$query_string;
    }

    location ~ \.php$ {
        include snippets/fastcgi-php.conf;
        fastcgi_pass unix:/run/php/php8.3-fpm.sock;
        fastcgi_param SCRIPT_FILENAME $document_root$fastcgi_script_name;
        include fastcgi_params;
    }

    location ~ /\.ht {
        deny all;
    }
}
Enable the site and restart Nginx:
sudo ln -s /etc/nginx/sites-available/your-laravel-project /etc/nginx/sites-enabled/
sudo nginx -t
sudo systemctl reload nginx
Step 7: Access Your Laravel Application
Once everything is configured, visit your server's public IP or domain to view the Laravel dashboard.

Conclusion
Congratulations! You've successfully deployed your Laravel application to a VPS. This setup gives you complete control over the environment and scales better for production. You can now secure your server with SSL and configure auto-deployment for better CI/CD.